Design Loft Bed Plans App
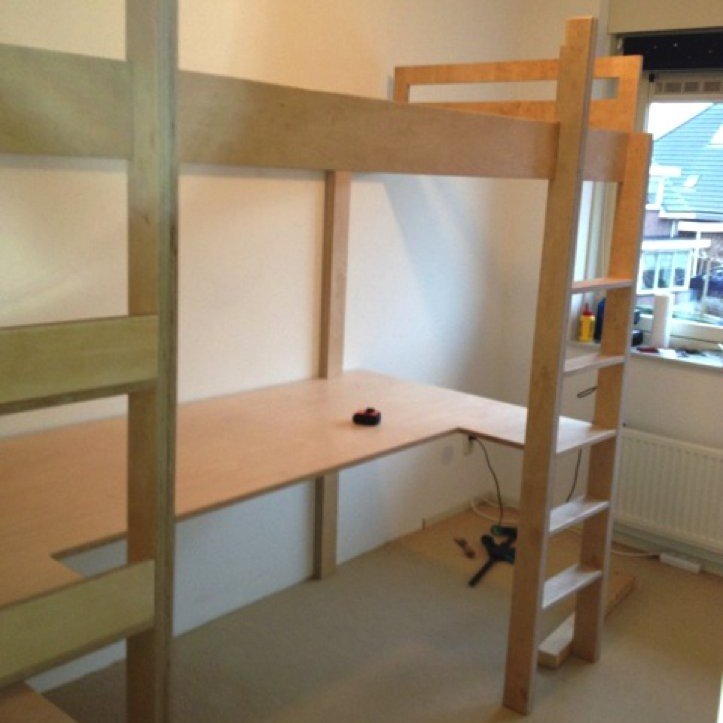
Creating your own loft bed is not too difficult and very rewarding to do. With an attractive design and clear instructions you can make a stable loft bed or bunk bed. It's easier than you might think, and… you can completely customize it as you like!

Create your own loft bed
It's incredibly satisfying to build a loft bed for your own offspring. Children love it! It's so cool. And you can only gain space: a play area or storage space for a young child, or a desk with shelves for a teenager at school. But also as a student or if you simply have a small house: a high bed gives you a lot of extra room, particularly if you can customize it to your own situation.
Advantages:
− for relatively little money, you can make a really nice loft bed from solid material
− you can easily adjust the dimensions
− you have the finish and appearance completely in your own hands
Or perhaps you simply find it enjoyable to make your own furniture, you like to work with wood and the satisfaction that comes from building something yourself.
More and more people, especially with small children, prefer to choose natural paint, oil or wax. That is also in your own hands.

What is a good loft bed?
A loft bed should be firm and stable. A solid construction is therefore important. It helps greatly if you can fix the bed to the wall, then there should be no movement at all.
Other important properties: the loft bed or bunk bed should look attractive and match the style of your interior. You can say that that is subjective, but almost everyone agrees on a clean design and good, beautiful materials. Taste is of course debatable.
Since loft beds are often placed in a small space, natural wood or a light colour with accents are often the best choice.


Materials, what are the possibilities?
It's sensible to use a solid material for the construction. That can be solid wood, such as pine, deal or a hardwood. But you could also opt for plywood. Where necessary, you can use two layers together. In your design it's useful to use multiple layers to make connections by 'stacking'. Non-structural parts can be made from MDF, ideal for painting and relatively cheap. Suitable plywood types are, for example:
1. Birch plywood, with its attractive light-coloured grain. Ideal to finish with varnish, oil or soap.
2. Okoume, beautiful colour (reddish / auburn) and grain and suitable for outdoor use. Also ideal for a transparent varnish or lacquer.
3. Meranti or similar hardwood, not quite as beautiful but strong and inexpensive.
4. Pine plywood, basically a sheet material for out-of-sight structural use in construction, but the better – and more expensive – types are also suitable for building a loft bed. Especially because they have a lovely light grain pattern.
Examples of DIY loft beds using all these sorts of wood can be found on our 'You made it!' page.
Good material is readily available, and if you go to a real wood merchant there's an ever wider range of beautiful wood, such as oak, cherry and maple. And usually planed and cut to size.
For our loft beds we almost always use sheet or board material for the construction, because with simple means you can achieve an elegant design.

A good design is everything
The design of a loft bed does not have to be complicated. In fact it is a bed on stilts with a ladder to the top. But of course it is much nicer to make the construction stylish but still stable, even in a small space. It is therefore important to join parts in a clever, but elegant, way. Combine the construction with bookshelves or a desktop and use the extra parts to improve the sturdiness. Then there are aesthetic requirements. Is the form well balanced? Are the dimensions in proportion? Are the form of the connections in keeping with the total picture? And does the design add to the strength? These are questions that you must be able to answer "yes" to before you start to build.
It's a shame to throw money, good materials and careful work at a project, without first taking account of these aspects.

To work
Before you start anything, it's a good idea to read through our cabinetmakers tips. The various tips are very handy when you decide to begin work. For those who purchase a DIY design manual from us, relevant tips are included in the step-by-step plan.
When you are satisfied with the design, you are then ready for the next step: an inventory of what you will need. What will you require in terms of tools and materials for joints (screws, dowels, glue, etc.) and finishing (sandpaper, paint, varnish, oil, soap, wax, brushes, rollers, etc.).
And of course the wood. When you go to purchase the wood you'll need a cutting list detailing sizes and quantities of the constituent parts. Sometimes it's useful to make a cutting plan or diagram, in which you indicate the most efficient way to saw the parts out of sheets or planks. You therefore have some check over the quoted cost from your wood supplier. There is a computer program that allows you to make a cutting plan.

Preparation of materials
When you have all your materials ready, you can prepare the component parts. Lay out all the parts and mark with a pencil where joints and connections need to be made (holes, notches, etc.). It is also wise to give all parts a name or number so that in a glance you can see what each part is and where it belongs.
Once you have done this, you can do a "dry-run" and fit everything together without glue. You'll soon see if everything is in order.

Preparing the finish
All pieces can now be taken apart again. Now is the time to at least sand any parts that will be visible. You might want to mark a (pencil) cross on anything that will not be visible.
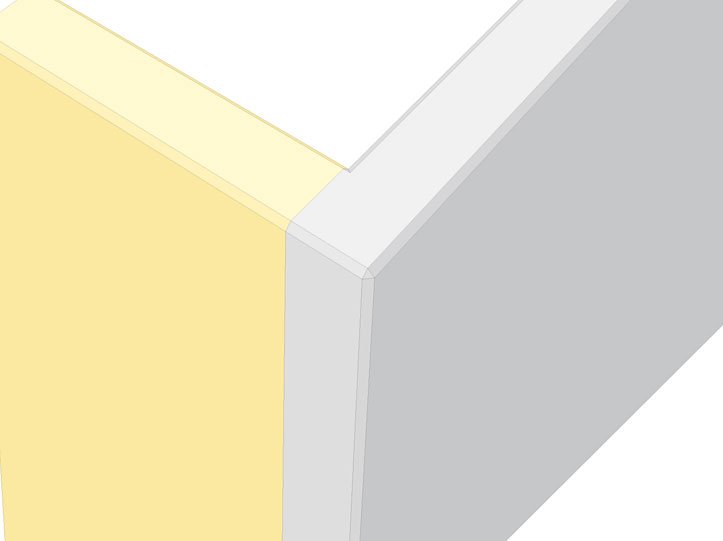
It is almost always a good idea to sand or plane any visible sharp edges, so-called chamfering or bevelling.

Assembly
Once all parts are prepared and "cleaned up" (sanded, chamfered), there are two ways to proceed with the following step. You can either first apply your chosen finish (paint, varnish, oil, wax, soap, stain, etc.) to all the parts, or you first put everything together and then apply the finish.
If you are going to spray your chosen finish then it is best to do the latter. Take care in this case that you reach all areas. If not spraying, it is generally easier to first apply finish to all the individual parts before assembly. Be careful not to apply any finish to surfaces that will be glued. Mark these with a pencil and/or mask the area with masking tape.

And further
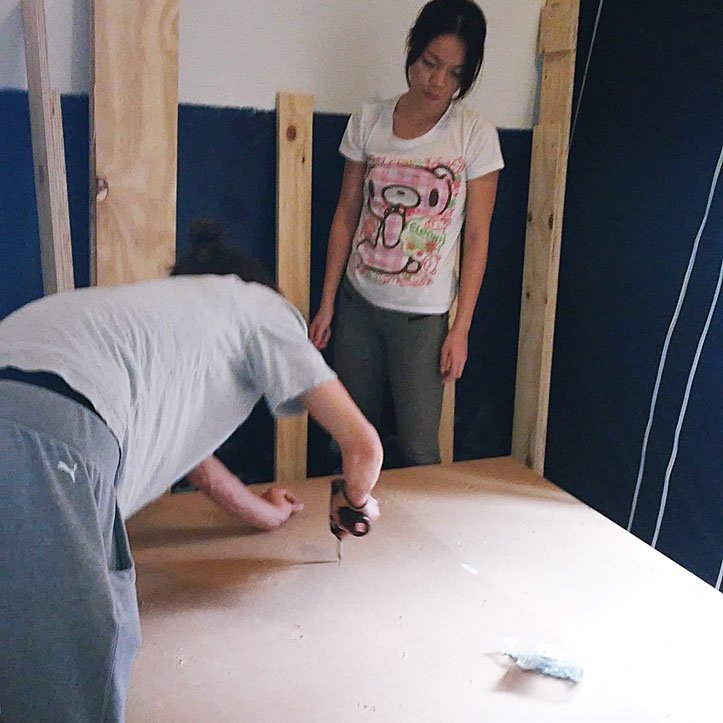
If all is well and all parts fit neatly together, you can proceed to join everything. With a loft bed you of course need to consider the space needed to assemble it. Ideally assemble it in place.
Tighten everything up, allow the glue time to dry and then enjoy your very own self-made loft bed or bunk bed!
Our DIY furniture design plans for loft beds and bunk beds generally follow the above process, and then you have:

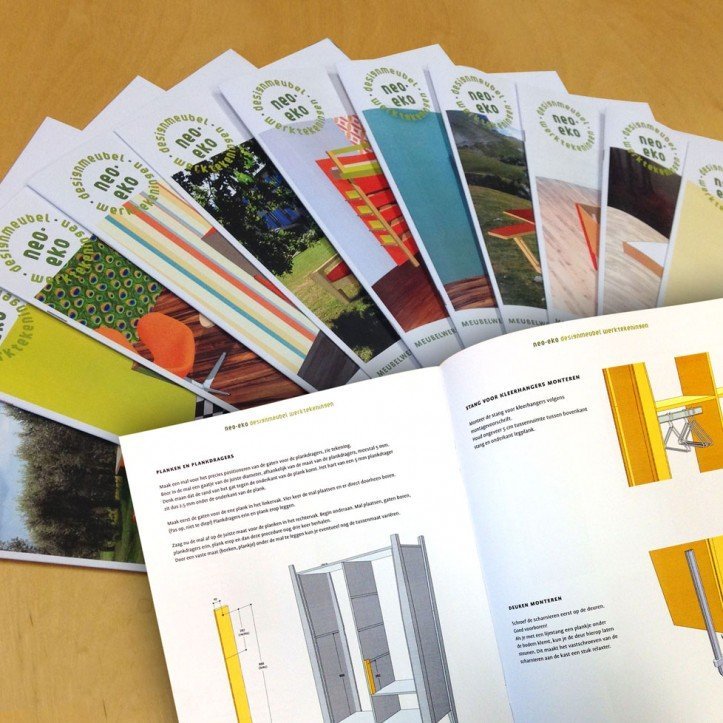
Our blueprint DIY instruction manuals
- a professional design (that you can of course alter, see what our customers made)
- step-by-step instructions with detailed diagrams and drawings
- help with choice of materials
- list of materials
- cutting list
- cutting plan (where necessary)
- detailed drawings for preparation of materials
- detailed explanation of various jointing methods (e.g. screws, dowels)
- some explanation about finishing
- appropriate tips and tricks where necessary
We are currently giving away two instruction manuals for free: classic picnic table 'Nevada', and side table / bedside cabinet 'Pilar'
Design Loft Bed Plans App
Source: https://neo-eko-diy-furnitureplans.com/how-to-build-a-loft-bed/
Posted by: szabonece2002.blogspot.com

0 Response to "Design Loft Bed Plans App"
Post a Comment